4 Tools to Ensure Quality in Complex Parts
To ensure parts meet your specifications, Natech uses state-of-the-art tools and technology
When you’re working with a contract manufacturer, you should feel confident that your parts meet your high quality specifications. Natech has a wide variety of equipment used for quality control and inspection. Our trained personnel utilize this equipment to maintain quality from design to development to production.
Natech implements quality throughout the lifetime of your project, so you can have confidence in your final product. Here are 4 essential quality tools that ensure your product quality.
1. Smartscope

Key Terms
GD&T: Geometric Dimensioning and Tolerancing, or GD&T, offers a universal language for communicating design intent as outlined by the ASME-Y 14.5 guideline.
SPC: Statistical Process Control, or SPC, is a quality tool used for inspection traceability and reporting. You can monitor quality processes by monitoring your output through product inspection or your input parameters. If input parameters stay within your established processing window, then your process produces good parts.
Natech’s Smartscope is a 3D multi-sensor metrology system. This automated piece of equipment verifies dimensional conformance to product specifications.
The machine is used for first article inspections, high-level engineering analysis, and in-process inspections. The machine software allows us to program an inspection routine, with or without a CAD model. Without operator bias, the Smartscope ensures repeatable and reliable inspections.
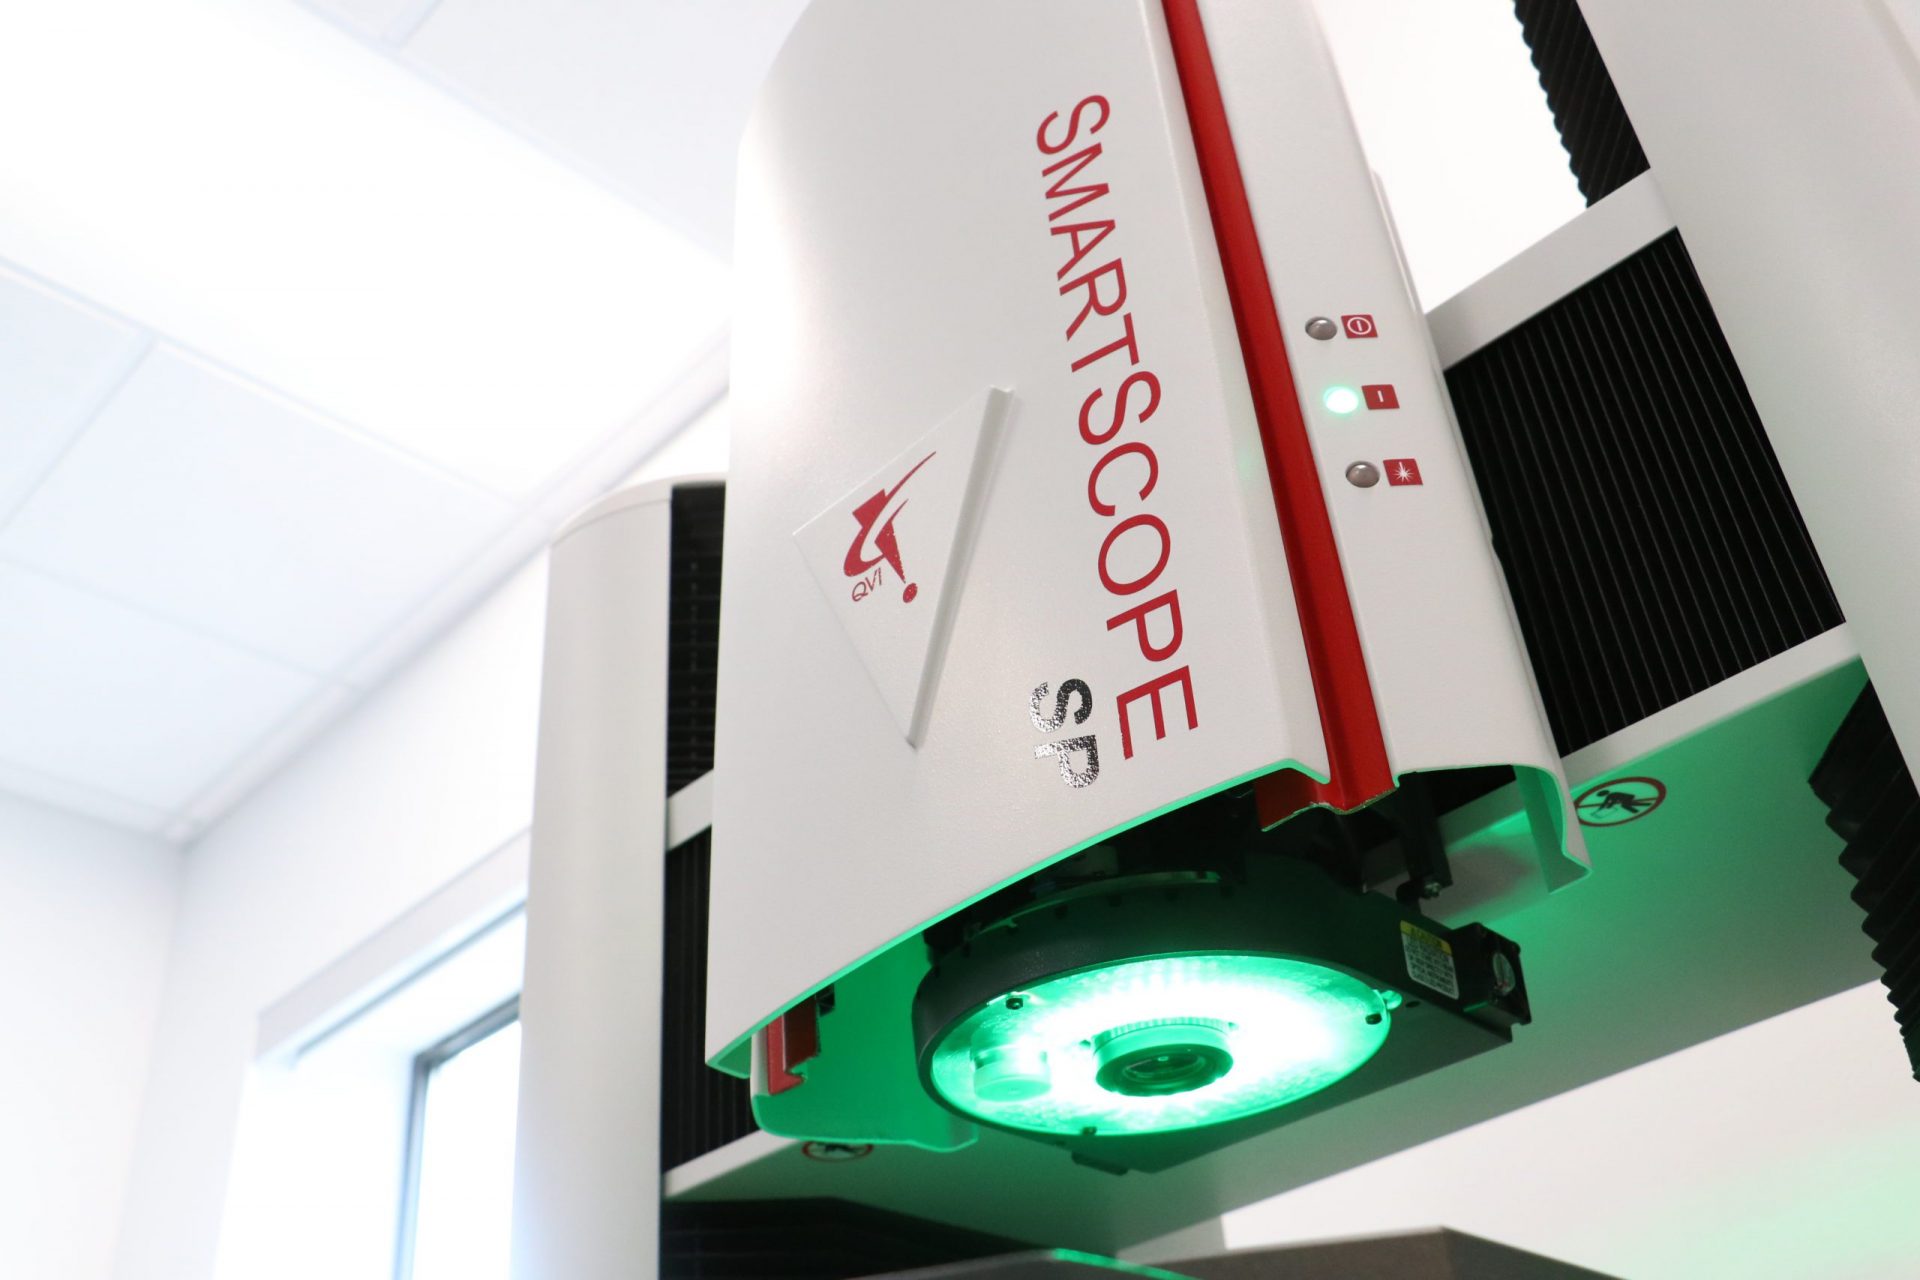
Prior to production, the Smartscope can also be used for GD&T analysis. GD&T prevents over-dimensioning, incomplete specifications, and over-constrained tolerances.
In the images below, you can see different work setups. Custom fixtures and modular tools are configured with an optical sensor, lighting methods, and scanning probe, which collect data in full 3D.
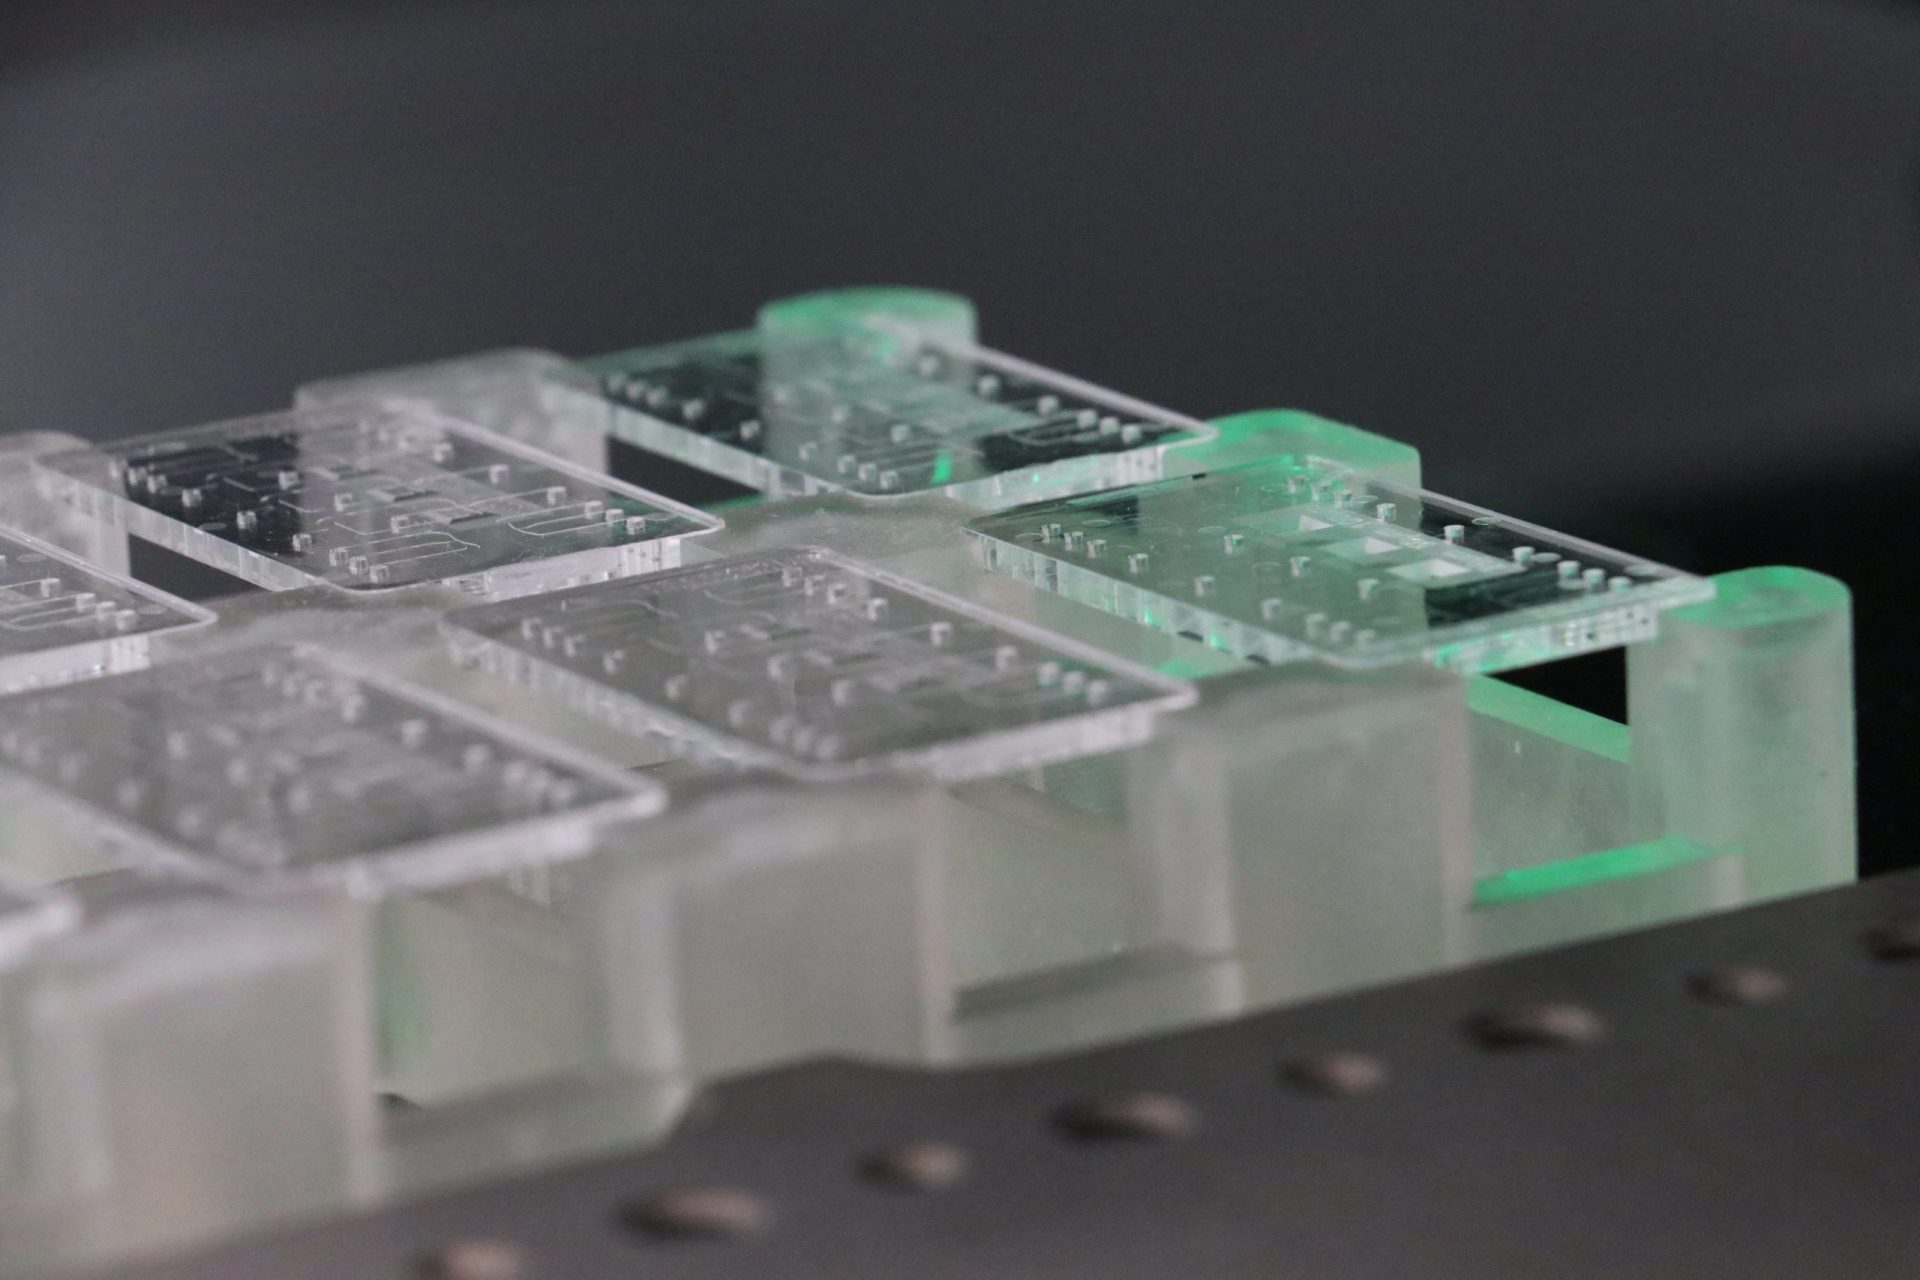
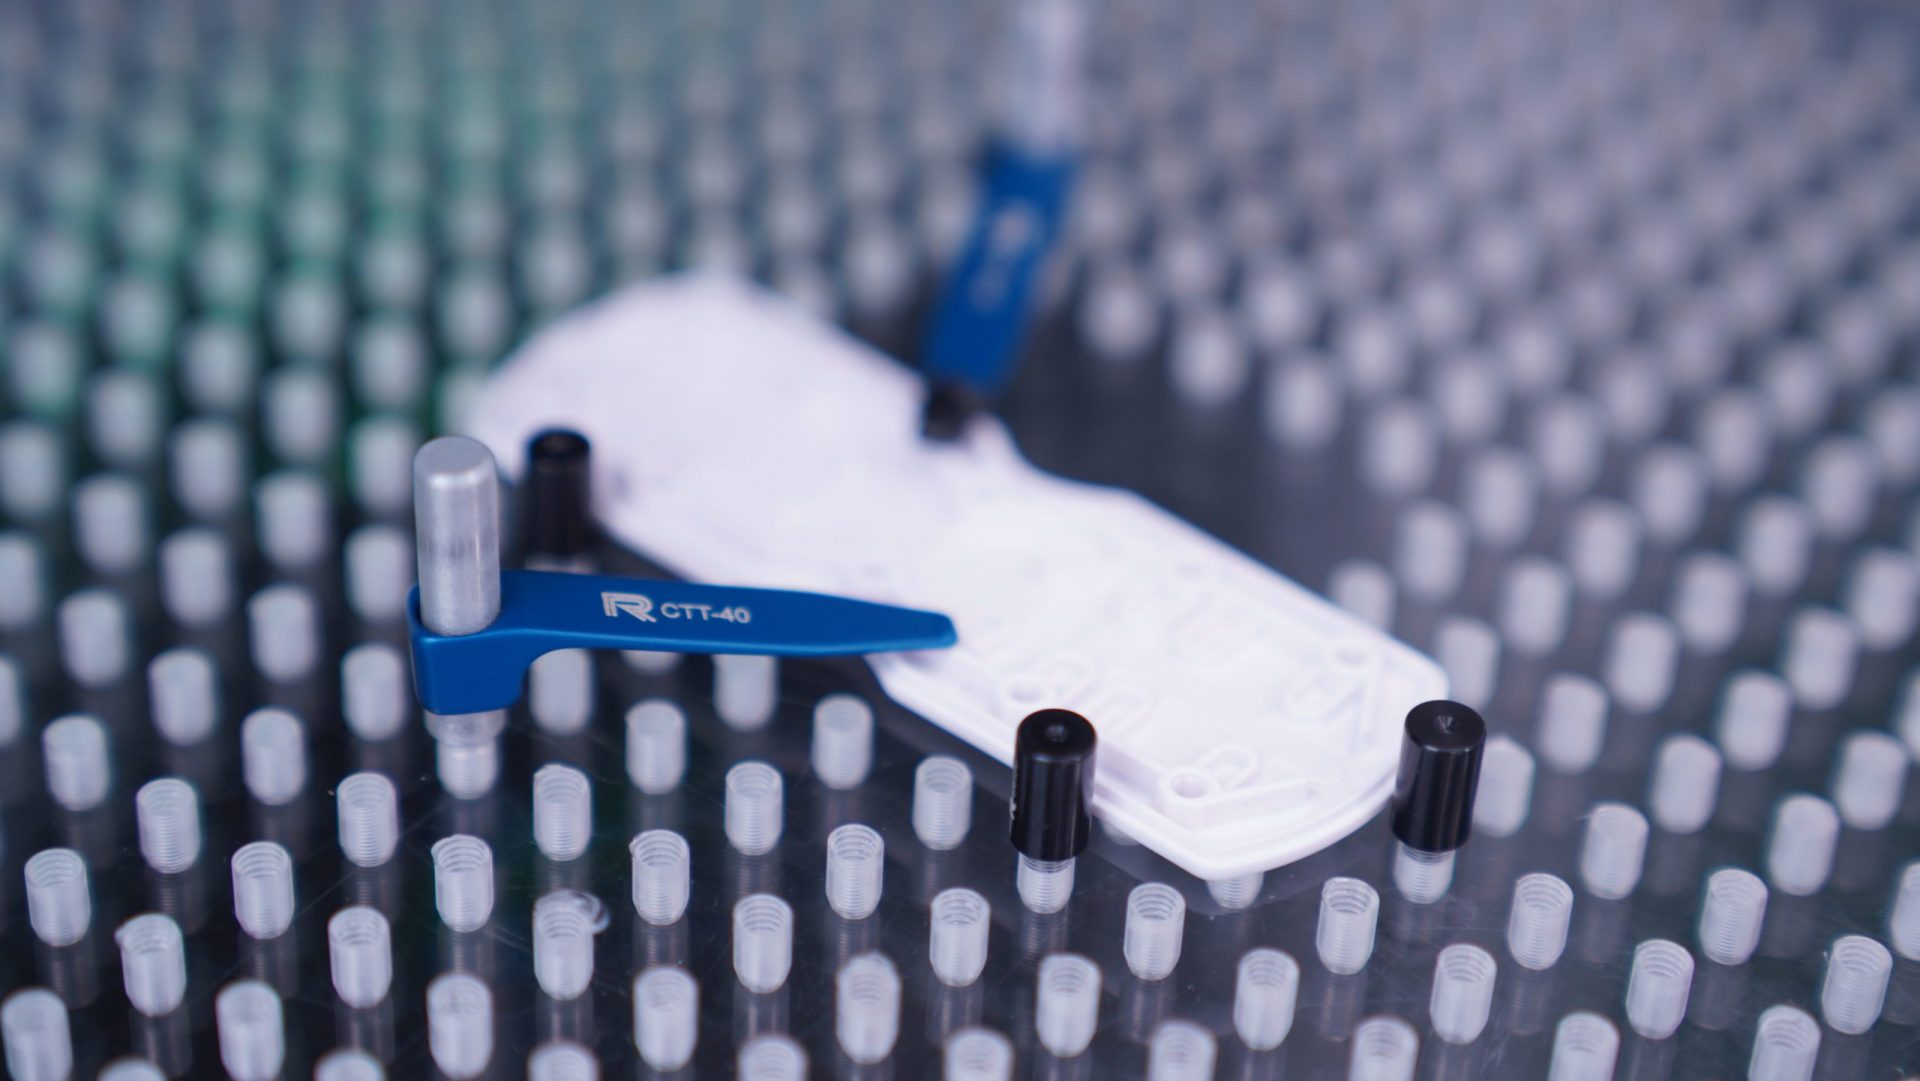
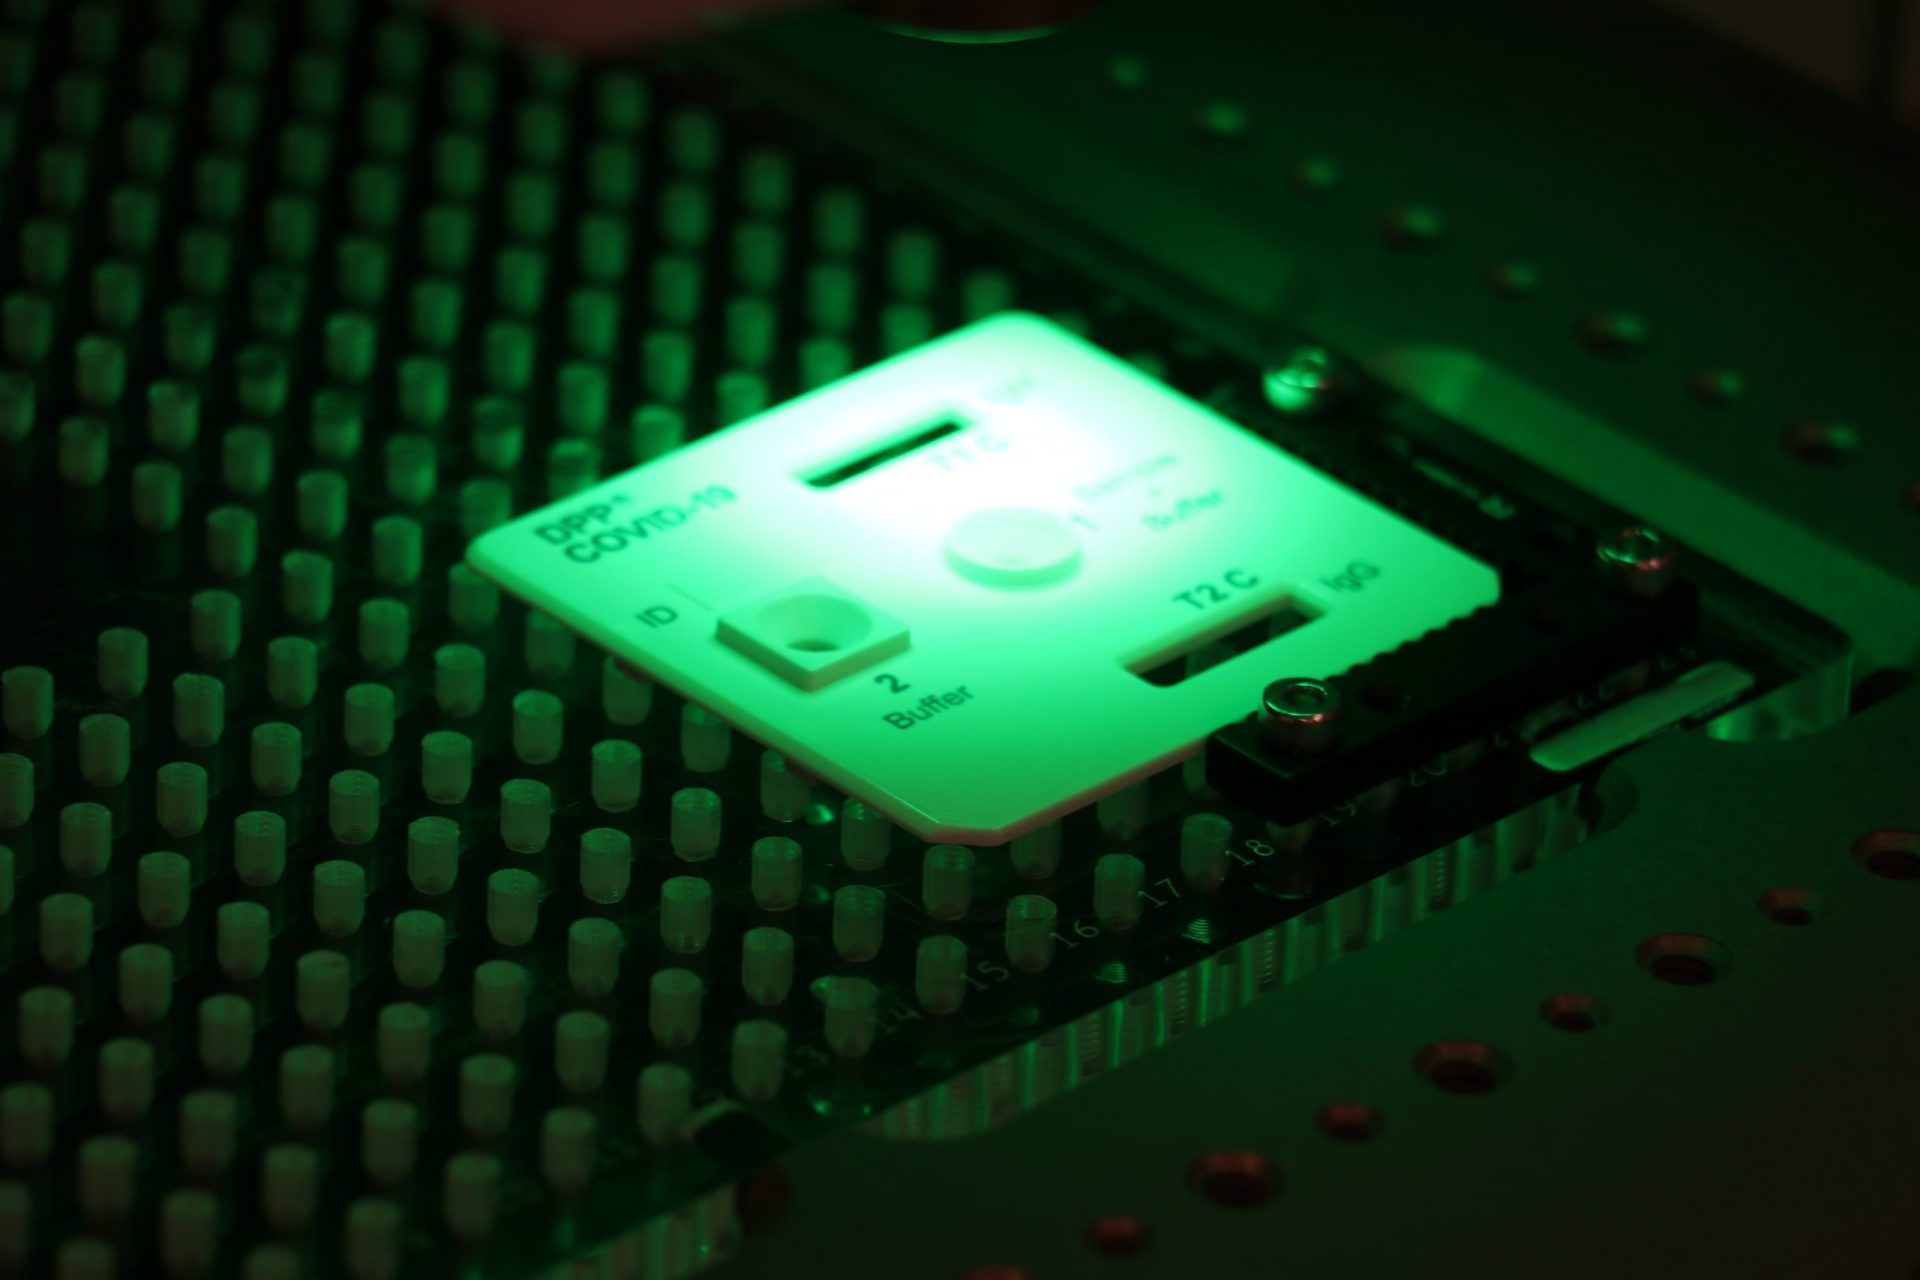
Statistical Process Control (SPC) is implemented during process development and production. It aids in identifying how process affects outputs and visualizes output variation. This allows Natech to identify potential drift before a product becomes nonconforming.
2. Burst/Leak Chamber
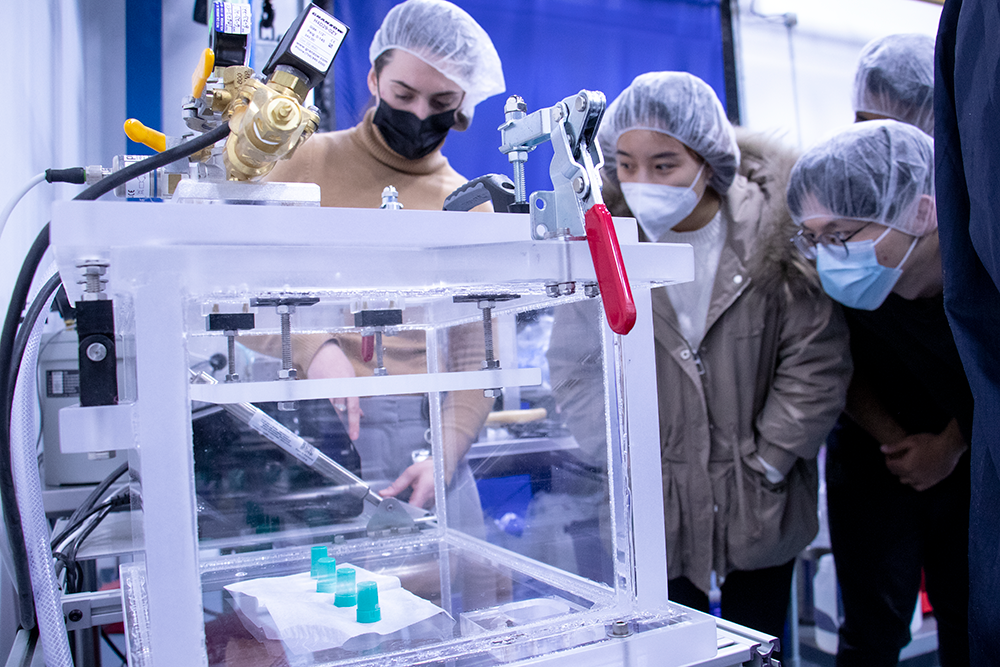
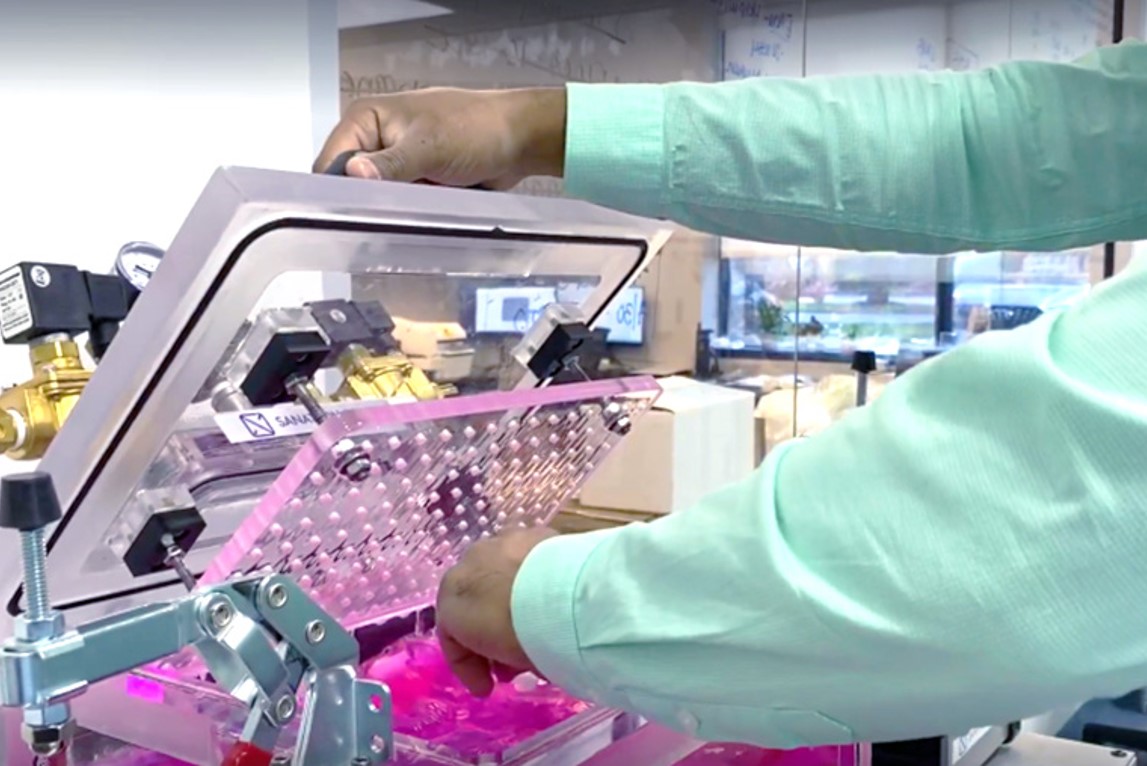
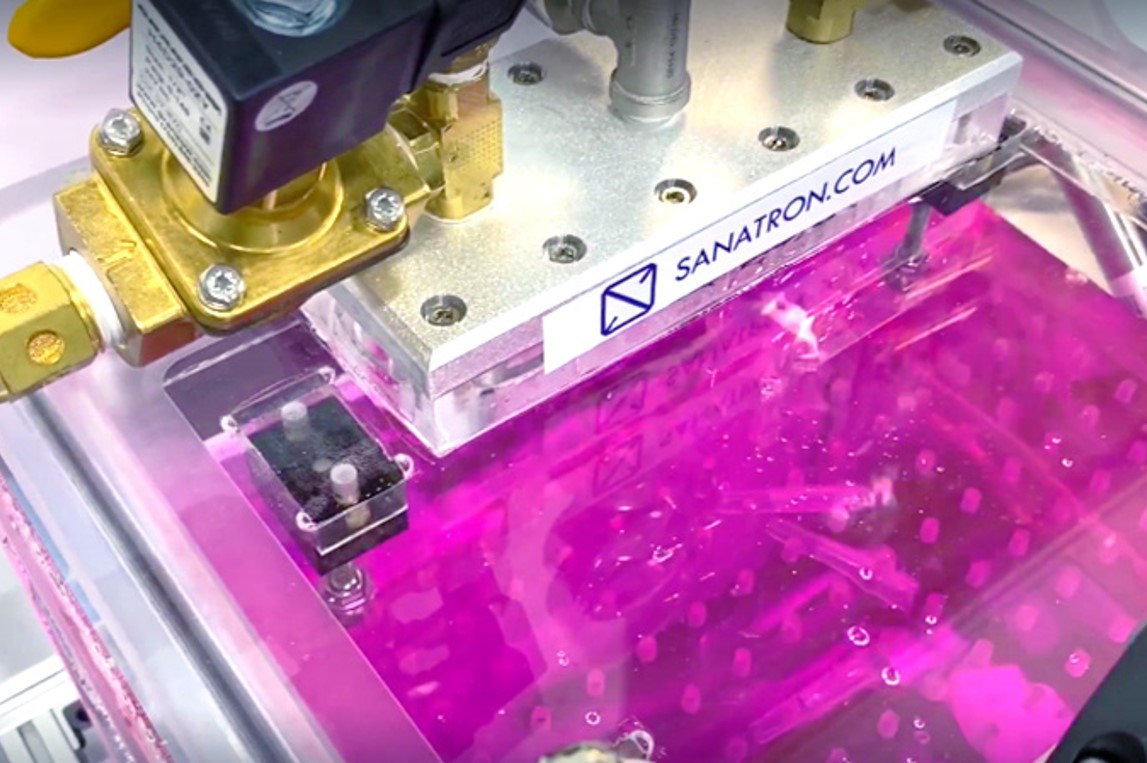
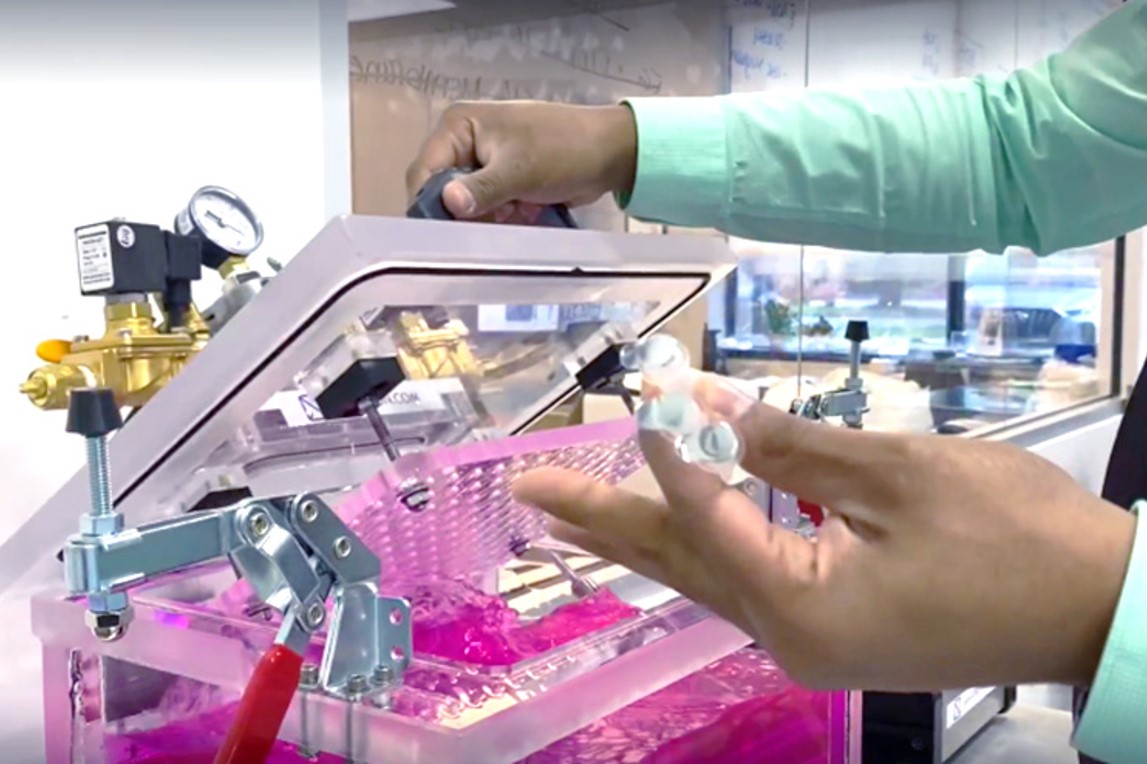
Natech’s burst/leak chamber is a test environment, typically used for filled and sealed diagnostics applications. The chamber is used to validate product seal integrity and inspect seal effectiveness between materials.
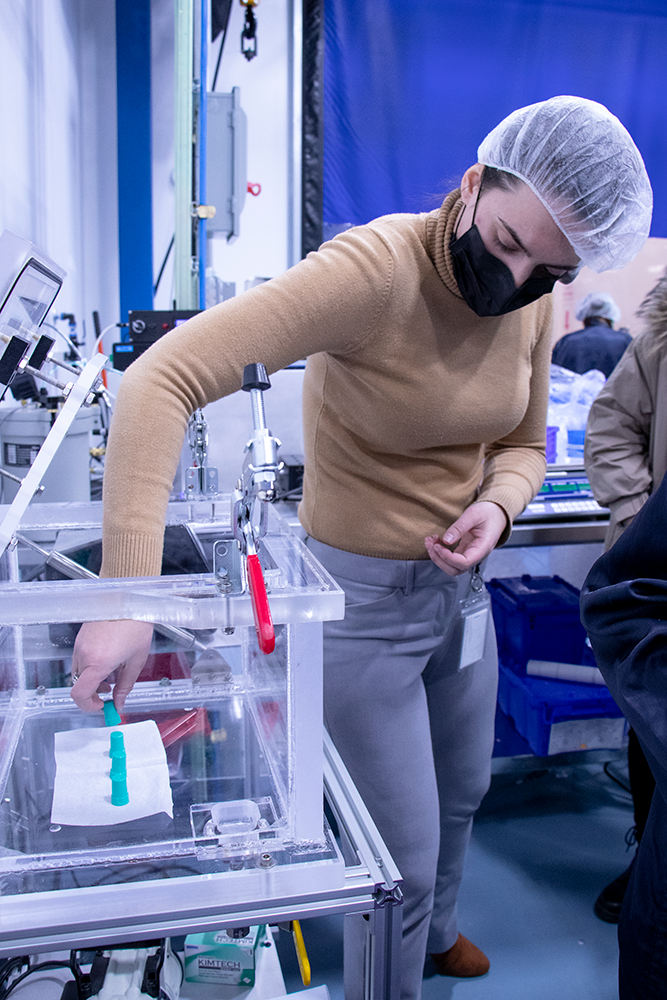
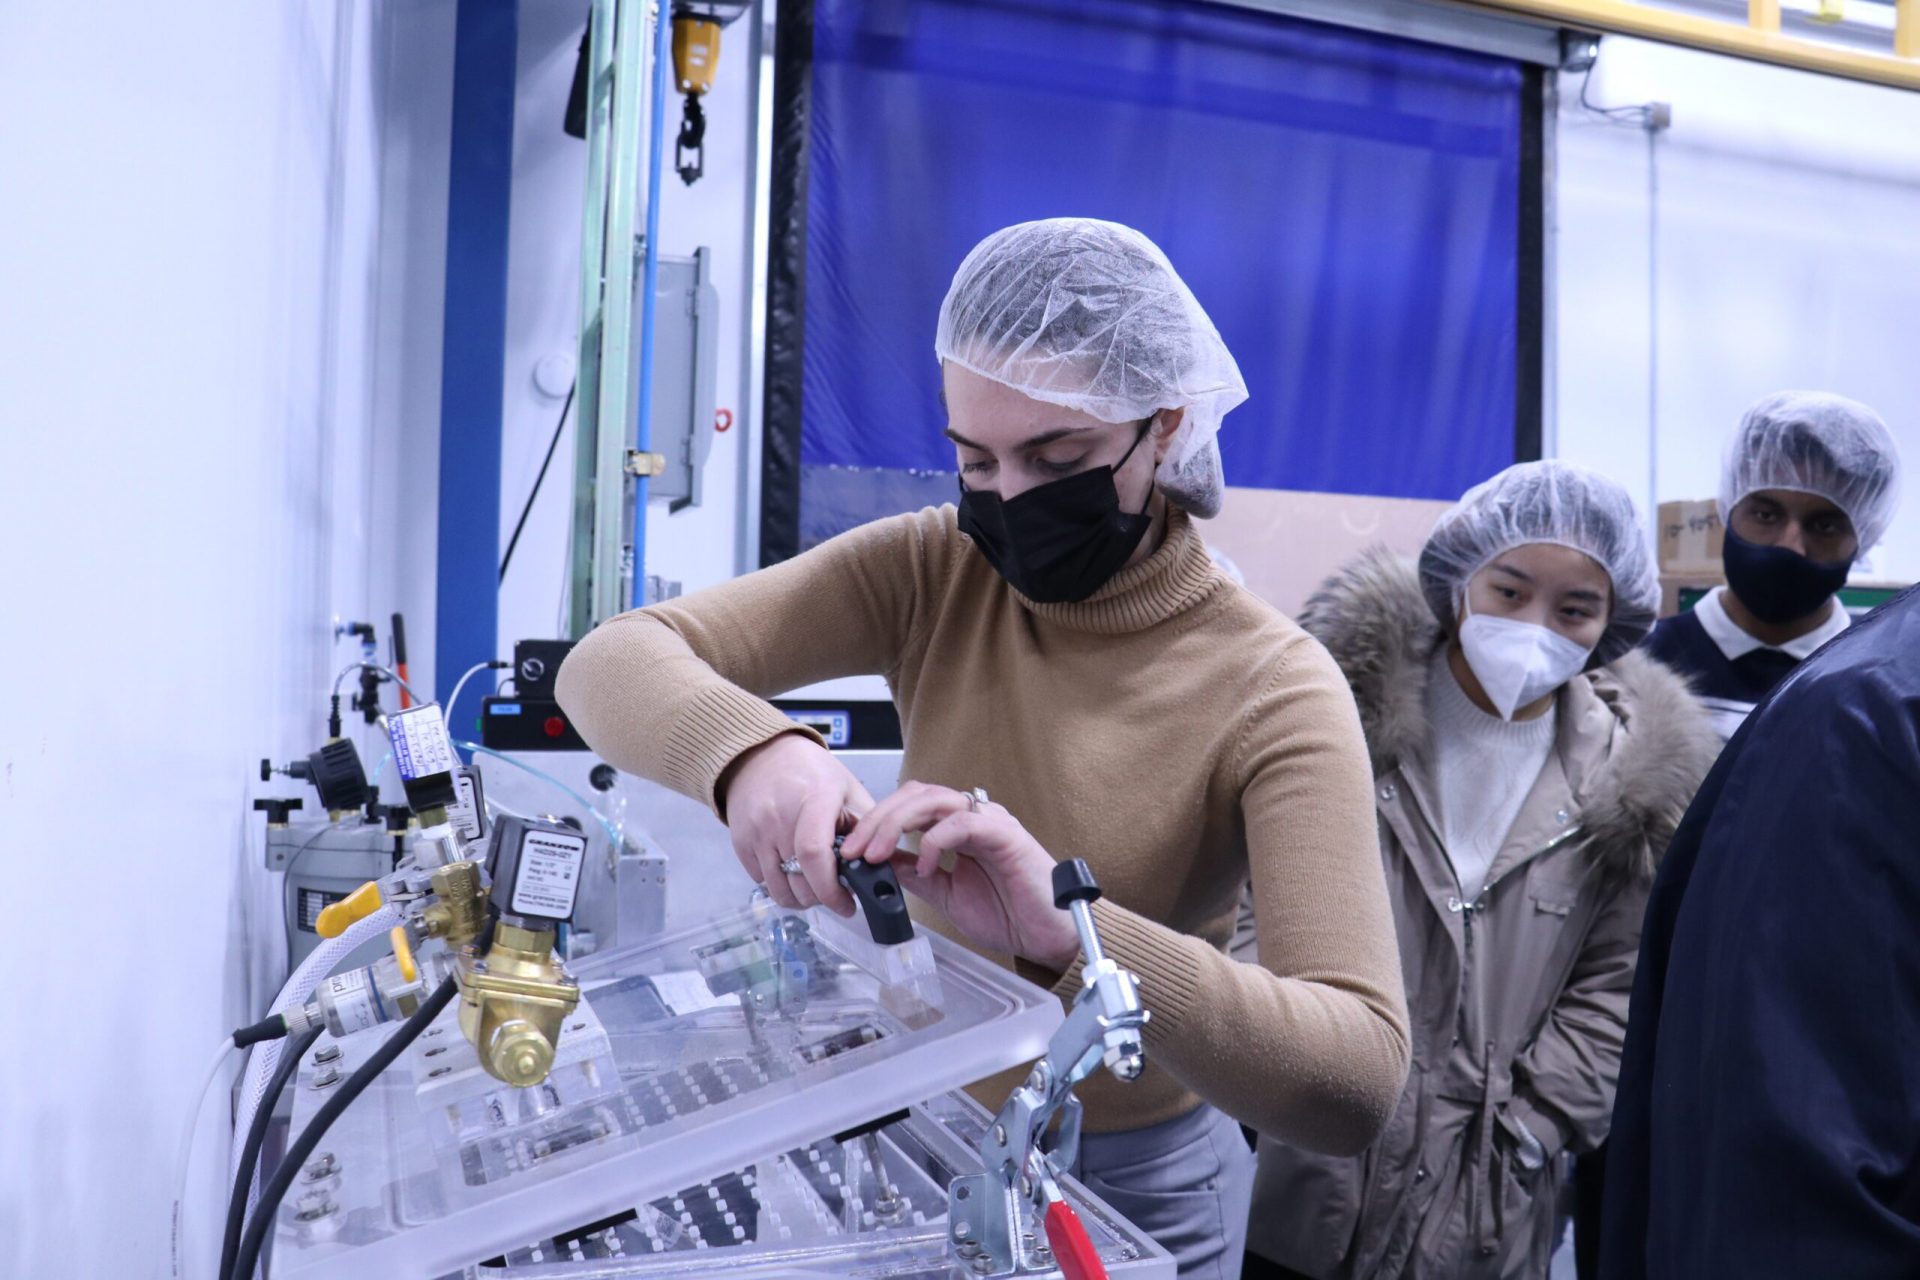
This custom-built piece of equipment can be used in a dry or wet environment. Dry environments are used for products that contains liquid. This test exposes product to high vacuum pressures to determine if the product leaks. Wet environments are often used for products that contain air and need to be leakproof.
In the images below, the product was placed in a wet environment for one minute at a pressure of 40kPa. Testing at various pressures mimics how the product could react when being transported or handled. A UV tracer dye is used to easily assess leaks in the parts. If bubbles release and dye is found in the product, it indicates leaking and invalidates the seal integrity.
3. Pull Force Gauge

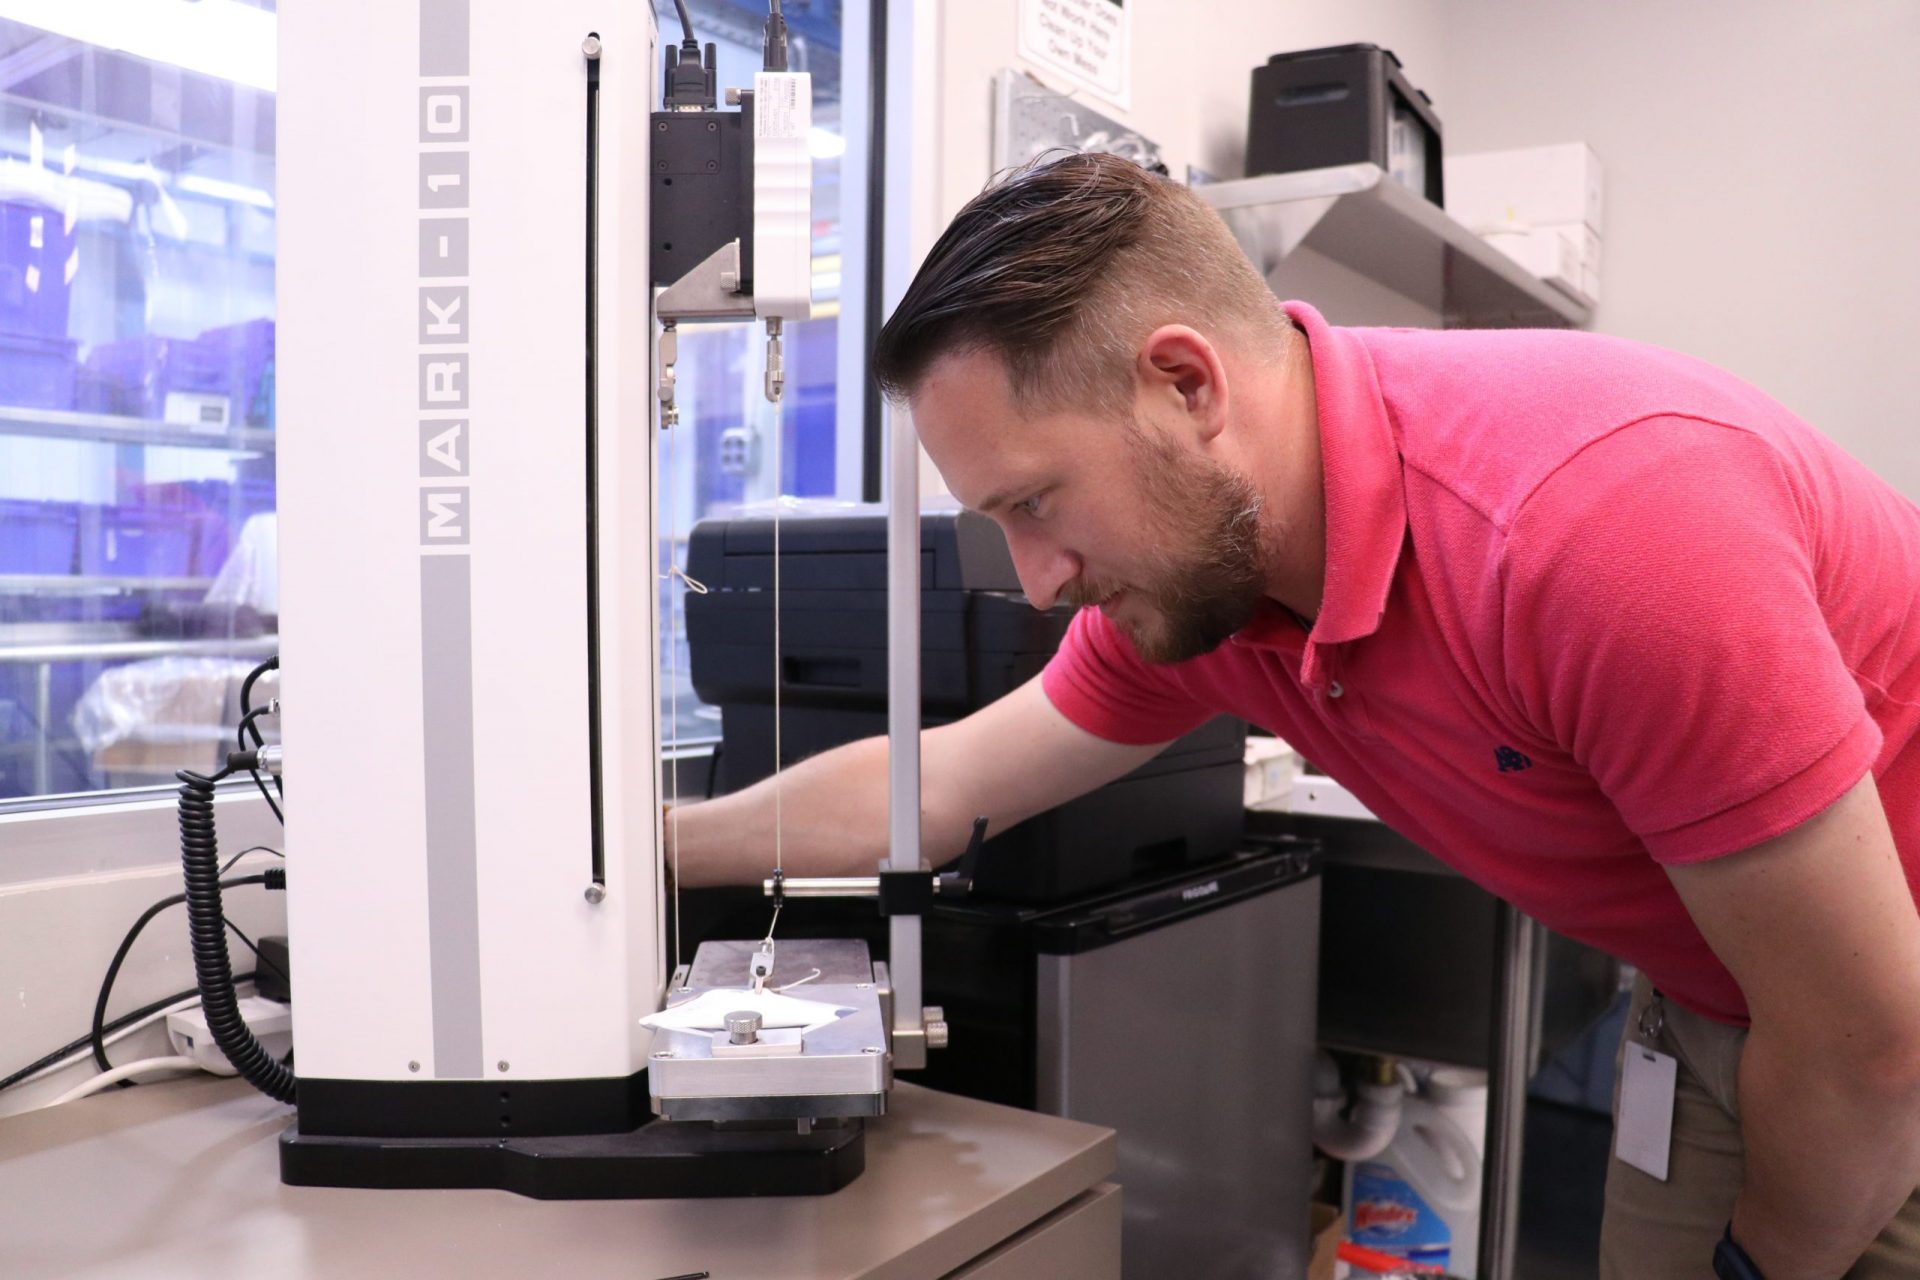
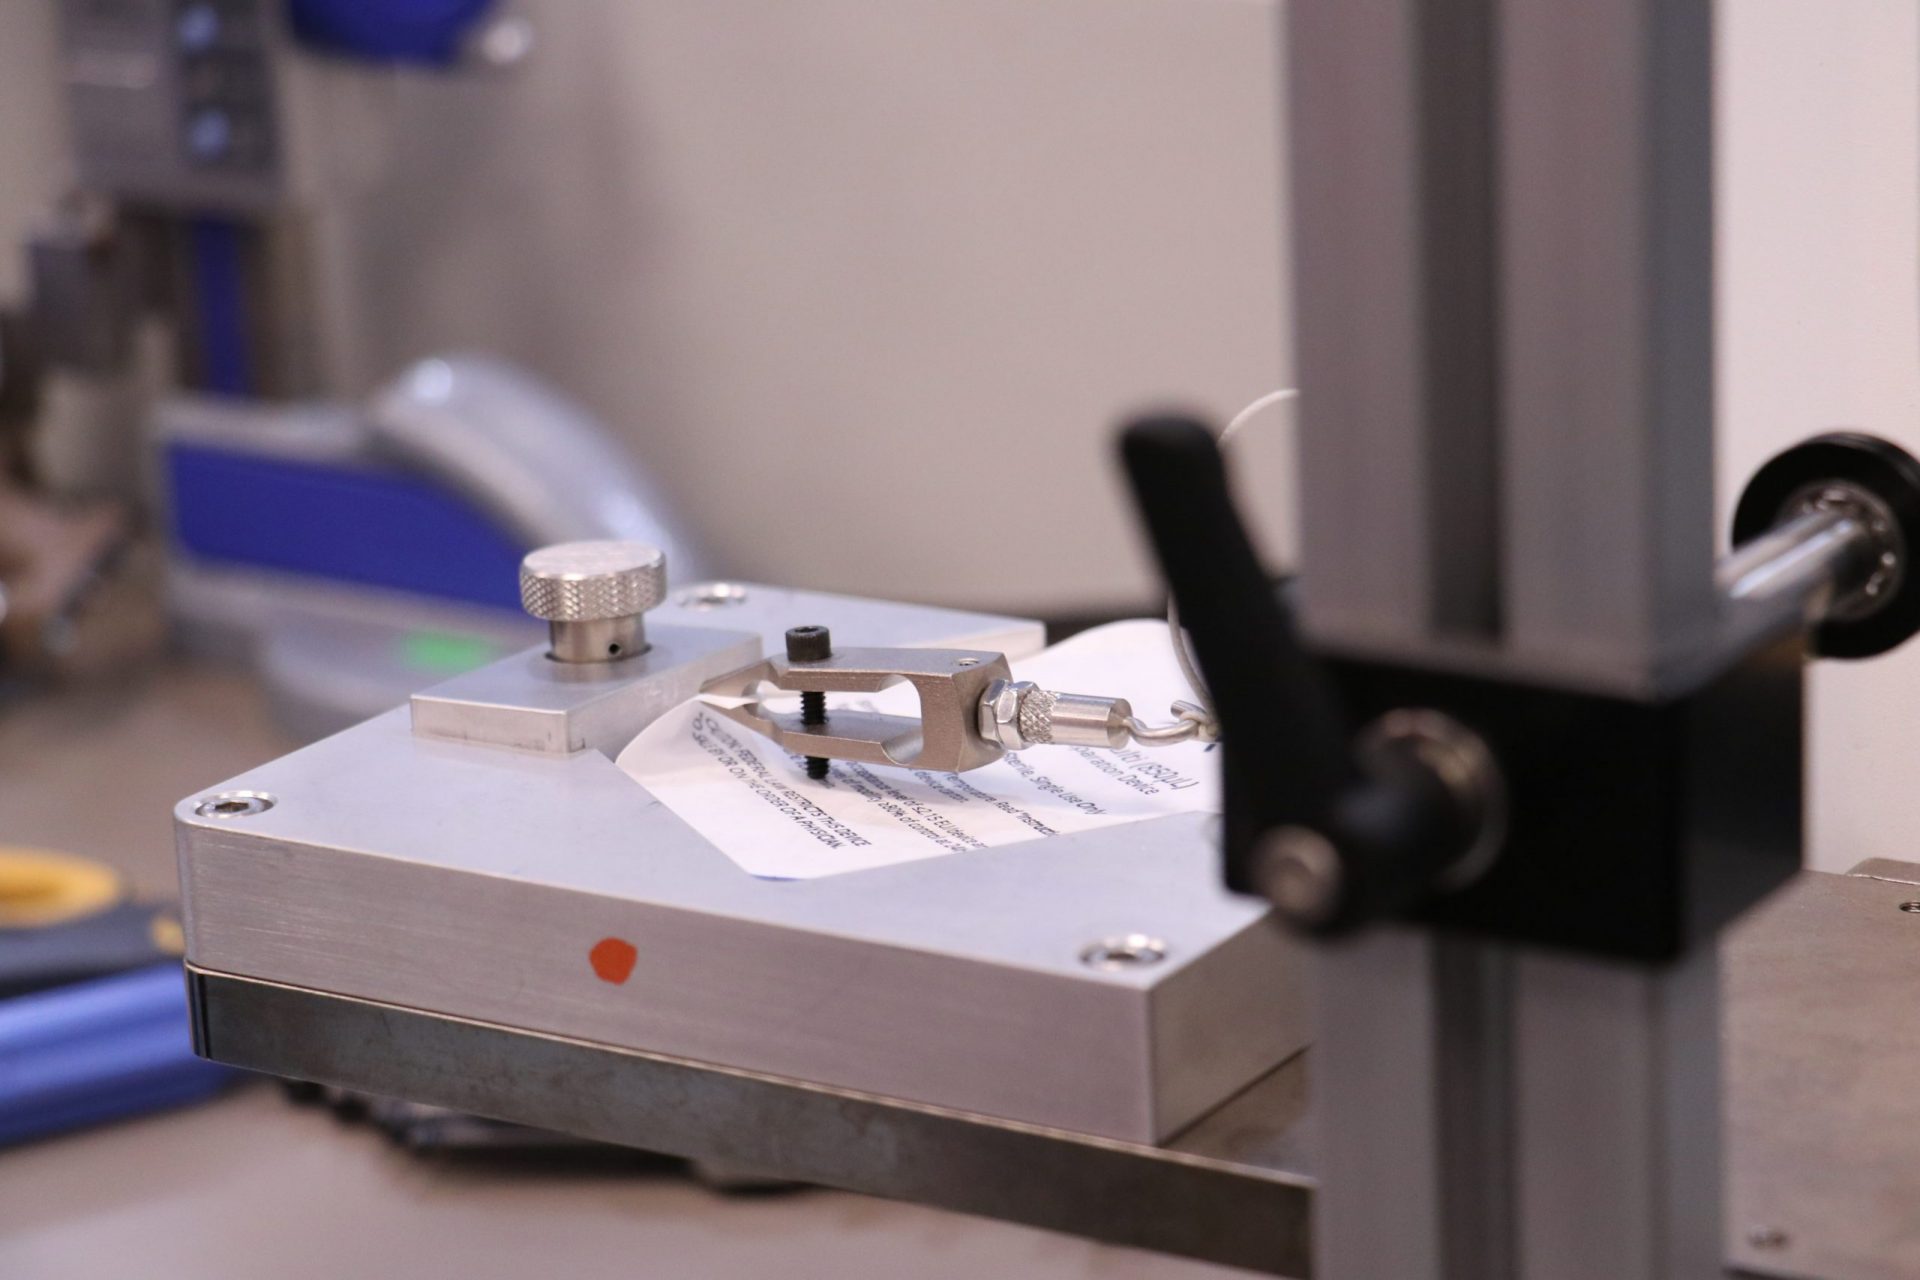
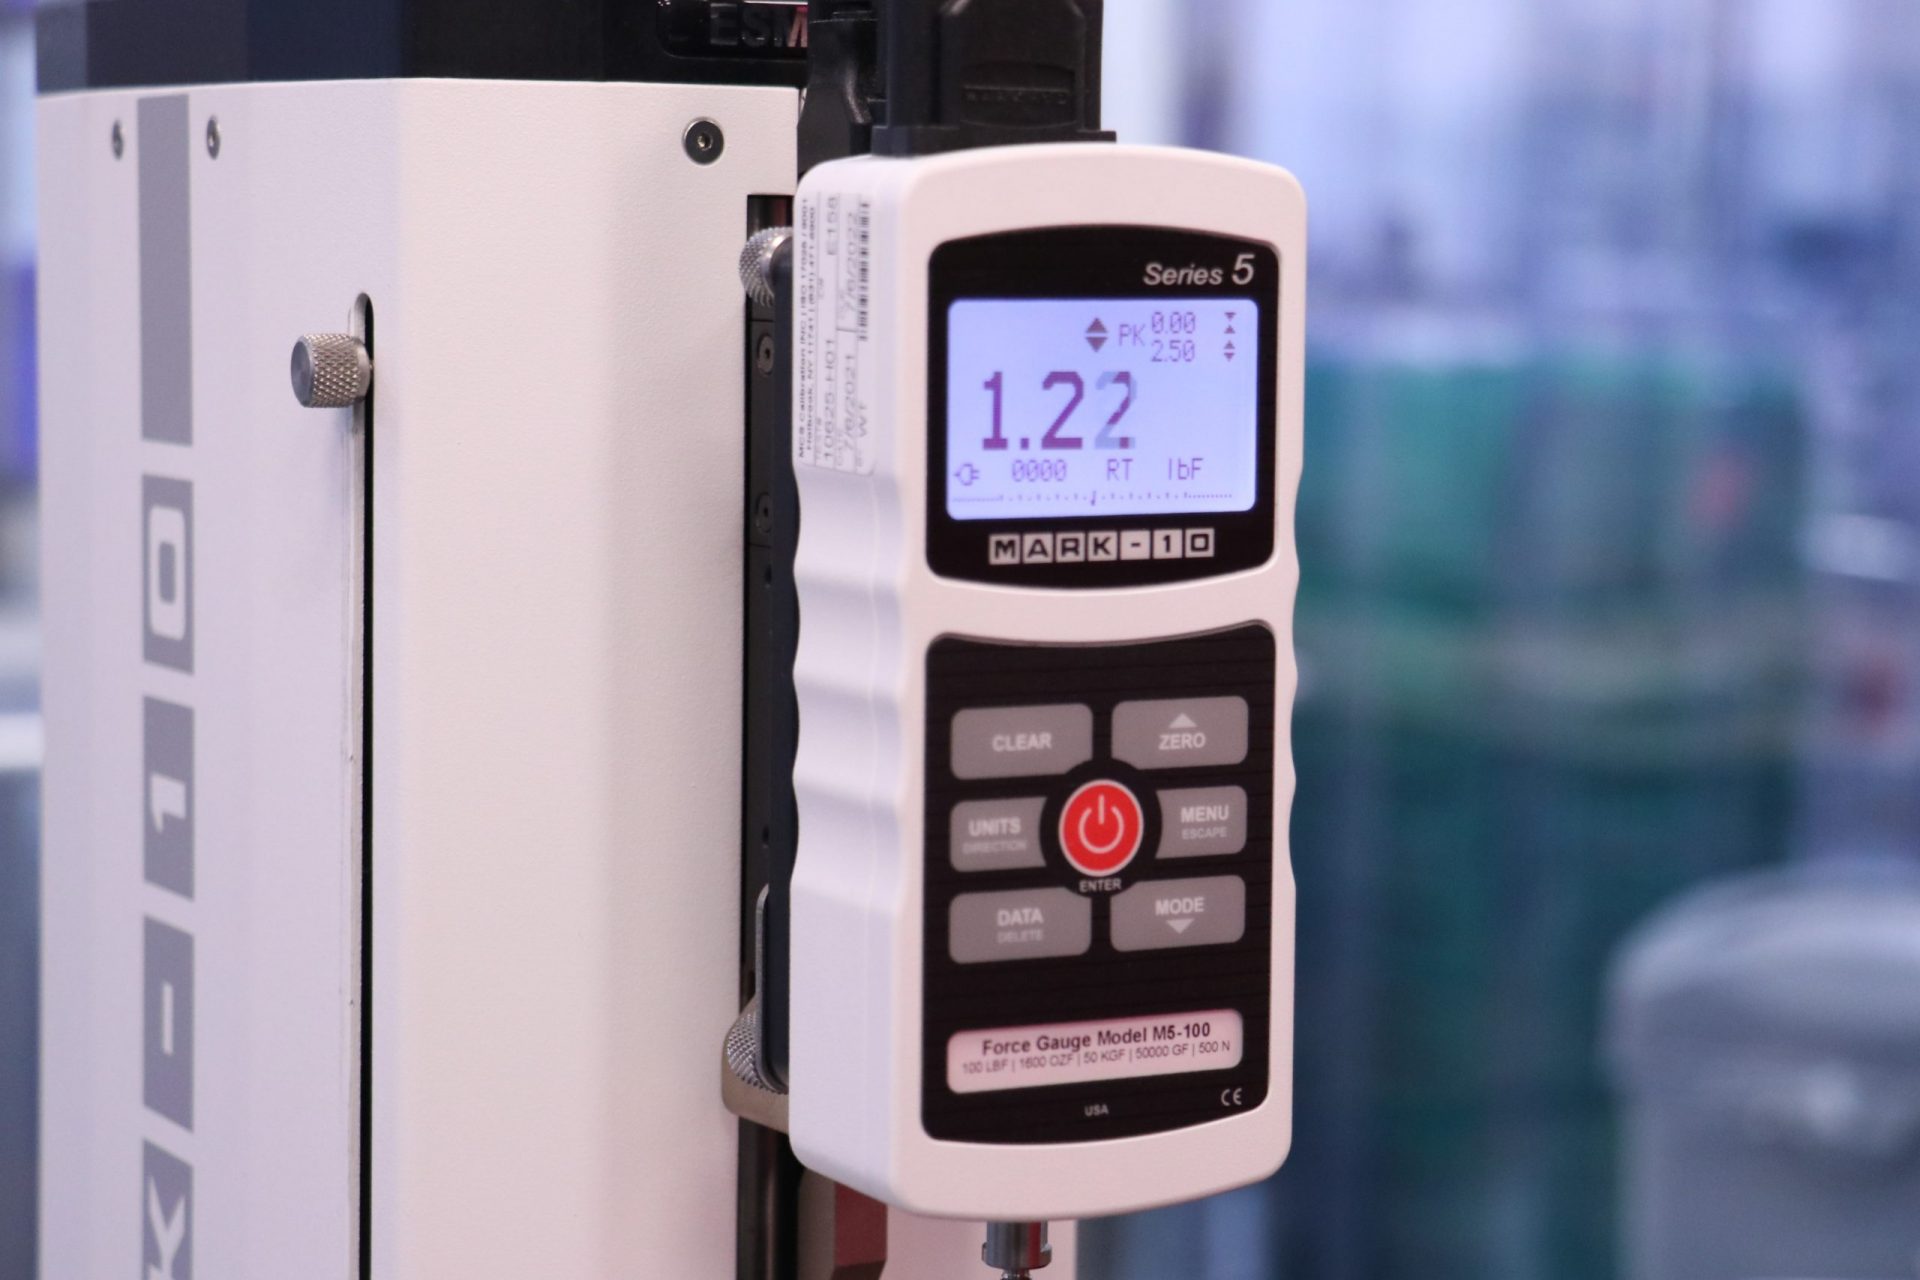
Natech’s pull force gauge is used for specific applications to determine peel force. It’s an essential tool for products that need to confirm seal integrity and seal removal force. This test method allows a sample to be analyzed under controlled parameters. The device can be preconfigured with a consistent and automated speed that ensures reliability, repeatability and removes operator bias.
The images below show a thermoformed blister pack that houses a custom plastic assembly, encased with a Tyvek lid. This packaging has distinct requirements to prevent the lid from peeling off prematurely and preserve seal integrity. A clamp is attached to the lid before initiating the test program. During analysis, the machine moves at constant speed and measures the amount of force required to remove the lid.

4. Vision Systems
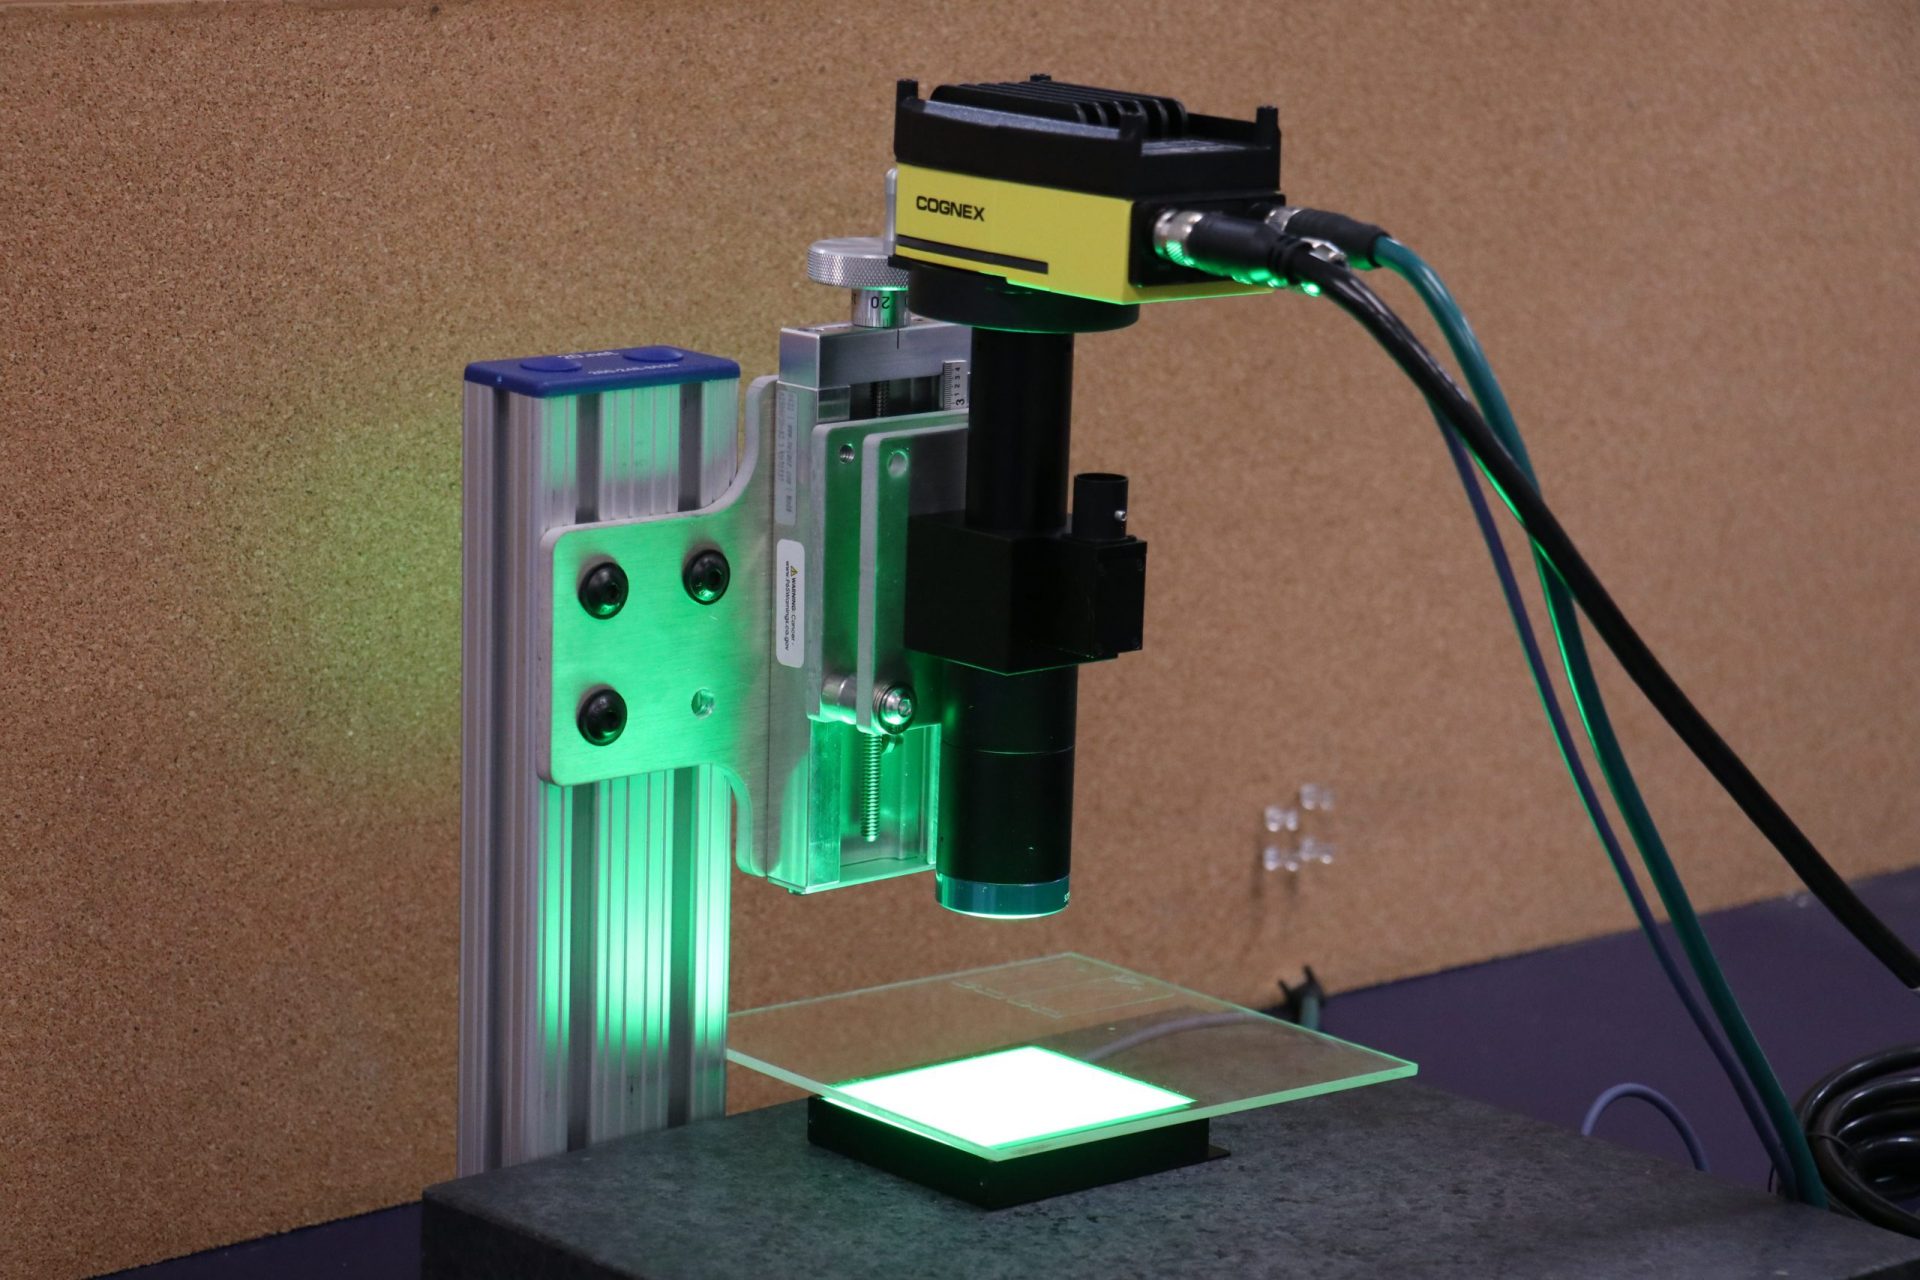
Natech utilizes standalone vision systems for in-line vision inspections at our injection molding presses. Vision systems, such as the Cognex vision cameras, allow for part defects to be captured quickly, automatically and safely. Some systems utilize deep learning algorithms, which enable the device to learn characteristics of the defects being analyzed. Over time, the reliability of the system improves and can be tuned to specific criteria.

The systems can detect defects like short shots, flash and sink. It can also identify if a part gets stuck in the mold.
For example, one use case involved identifying and counting specific features of a distinct shape and size, then sorting them from similar features that may contain a random anomaly. The objective is to quantify good features from bad features based on random qualitative characteristics.
When developing devices for the medical and diagnostics industries, it’s essential that your strict quality requirements are met. Work with an experienced team to ensure your product exceeds quality expectations.