Why You Should Design Your Plastic Part with the Right Gate
UNDERSTAND HOW GATING IMPACTS YOUR PLASTIC PART
Once you have your plastic part designed, it is time to move into design for manufacturing (DFM). During this stage, your plastics engineer will select the proper gate for your design prior to tooling and manufacturing. Gating is critical in the design process.
Simply put, you cannot mold a plastic part without a gate. Part gating directly impacts costs, quality, part appearance and part function.
If your manufacturer chooses a poor gate for your part, it can experience major quality issues, such as non-fill, knit lines, warp, and burning. Uninformed gating decisions skyrocket your molded part costs and mold costs because different gates come with different costs.
Making informed gating decisions helps you avoid labor costs from an operator removing a gate, ensures consistent cycle times, increases part quality, and allows your part to look and function as intended.
It is essential for you to consider gating before moving to production in injection molding to avoid costly issues. Your gate selection should support your functional, aesthetic, and budgetary requirements.
This article will serve as a jumping-off point to understanding plastic part gating and how it directly impacts your end product.
This Article Contains the Following Tools:
- What are the Different Components of a Gate?
- What are the Different Types of Gates in Plastic Parts?
- How does Gating Impact my Part?
1. What are the Different Components of a Gate?
So, what is a gate? In plastic injection molding, a gate is the opening in a mold and the point of entry where molten plastic is injected into a part. Here are some terms you should know to understanding gating.
Helpful Terms to Understand Gating
Sprue: A sprue is a passage that connects the nozzle of the molding machine with the runner.
Runner: A runner is a channel that connects the sprue with the gate.
Auto-degating: Automatically trimmed gates have a quality that automatically cuts the gate as the mold opens.
Manual degating: Manually trimmed gates calls for an operator to remove the gate runner from the part.
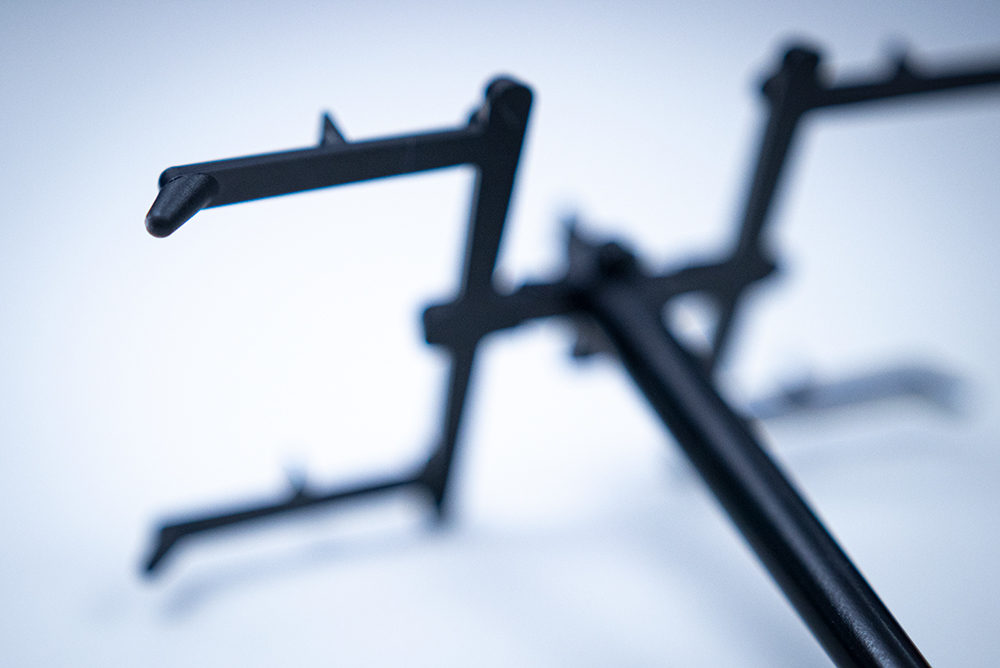
Gate Vestige: Vestige is a visual indication that a part was gated in that area. It’s extra material that extends from a molded part at the gate area after gate runner removal. Vestiges are usually removed after molding, whether it’s automatically or manually.
2. What are the Different Types of Gates in Plastic Parts?
These are several types of gates for plastic parts. Each has specific usage and applications. Below are three frequently used gates and their associated benefits.
| Type | Common Uses | Benefits | Disadvantages |
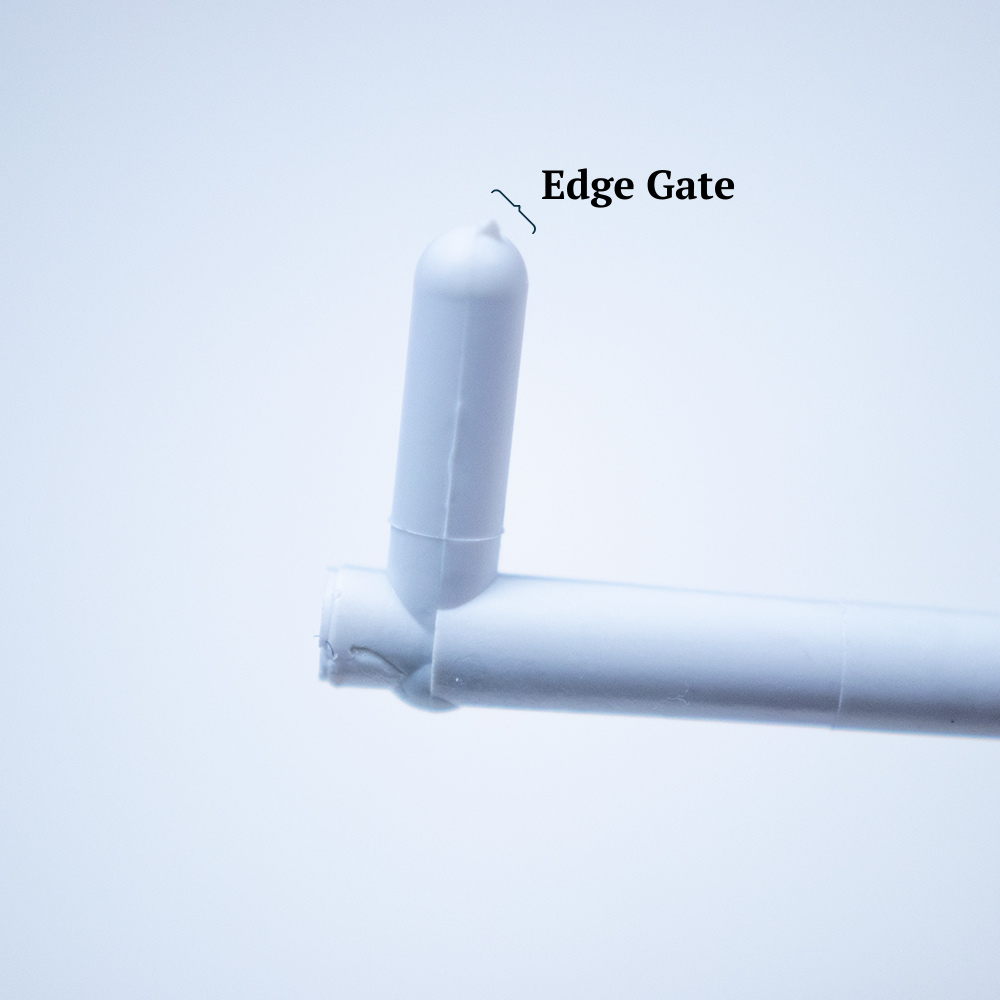
| Edge Gate | Edge gates are one of the most common gates and are best suited for flat parts. This gate is suited for materials that are prone to shattering and filled materials. | Easy and inexpensive to design and manufacture. Easy to modify or change without removing the mold from the machine. Don’t wear out and offer good shear conditions. | Manual degating. Larger gate vestige. |
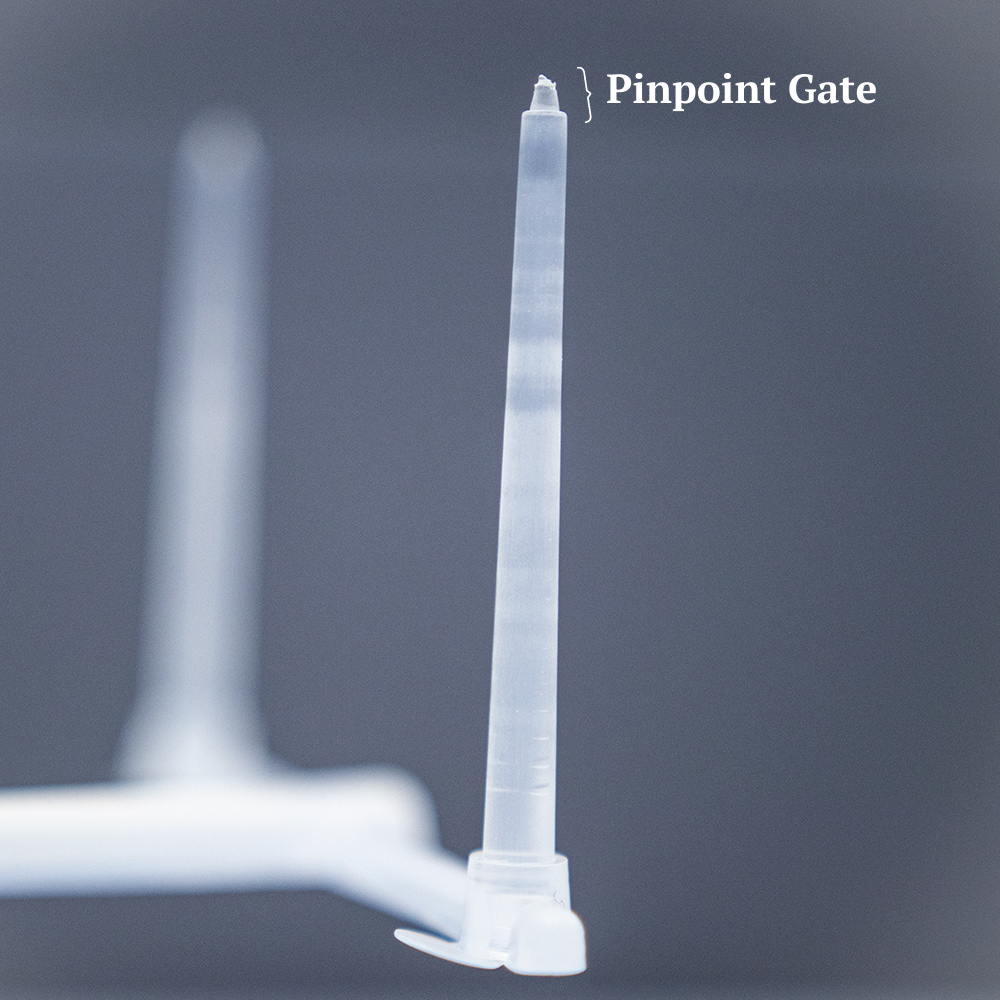
| Pinpoint Gate | Pinpoint gates are used when gate location needs to be flexible for proper molding. | Flexible gate placement. Small gate vestige. | Added mold complexity. Increased maintenance. |
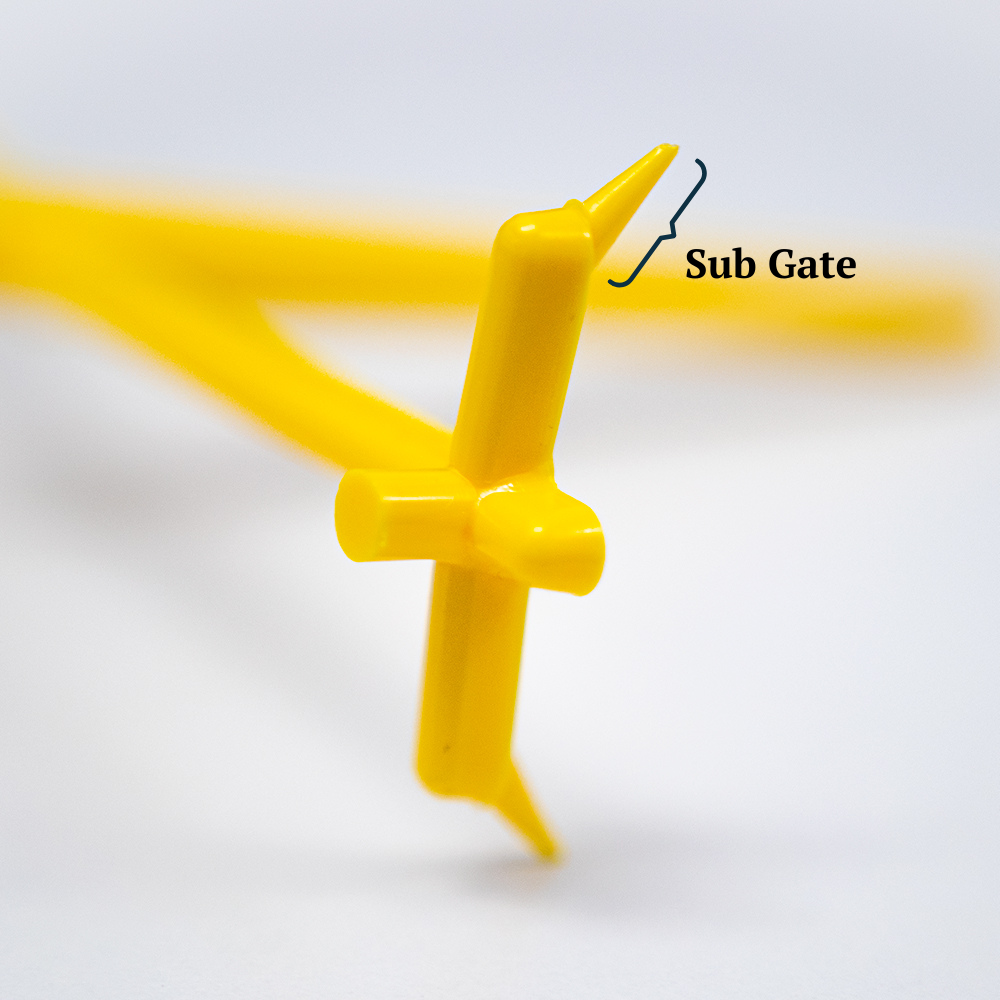
| Sub Gate | Sub gates are common for small parts, high cavitation molds, or when gates need to be automatically trimmed. | Auto-degating, which saves costs in cycle time and labor. Flexible gate placement. Small gate vestige. | Increased risk of shattering with brittle materials. Complicated to run filled materials. |
Other types of gates found in injection molding include:
- Cashew Gate: Cashew gates are auto-degating and typically used when trying to have the injection location behind or below a visible surface. However, these gates are hard to machine.
- Diaphragm Gate: Diaphragm gates eliminate weld lines and have a more uniform flow pattern. However, you can only manually degate these gates.
- Direct or Sprue Gate: Direct or Sprue gates are easy to machine, eliminates a runner and reduces runner cost, and has low maintenance costs. However, you can only use it on single cavity tools.
3. How does Gating Impact my Plastic Part?
The Wrong Gate Escalates Your Costs
Gate design and location can affect cycle times, lead times, and tooling costs – all of which impact your overall costs. You do not want slow cycle times, as those decrease your throughput and increase processing costs. Choosing the wrong gate can increase tooling costs, as your molder will need to troubleshoot your plastic mold by creating inserts or other workarounds. The wrong gate can also increase part costs by adding rework operations to the gate.
To save costs, you want to select a gate that is appropriate for your part and quantity. If you are producing parts in low quantity, you may be able to use an auto-degating gate, which allows the runner to automatically separate from the parts. This saves costs in cycle time and labor. Ask your plastics engineer if your plastic part design is appropriate for a gate that can avoid operator costs.
This sub gate allows the runner to automatically detach from the part.
Quality and Functionality Issues Arise from Improper Gating
If gated improperly, a part may experience stress or deformation from the gate. This can cause the part to have major quality issues, such as non-fill, knit lines, warp, and sink marks. During DFM, your engineer should consider a gating strategy that combats those risks to make your product ready for manufacturing.
Non-Fill: Non-fill is when a mold or cavities of the mold are not properly or fully filled. If the gate location is in a thin area of the part and the final area that needs to be filled is thicker, the filling from thin to thick will cause a huge pressure drop, which causes non-fill.
Knit Lines: Knit lines are lines, visible or not, that could weaken, break, or cause cracks in a part. Melted material flows together to form these lines. Knit lines are caused by varying speed at which the plastic flows as it changes direction in the mold.
Warpage: Warpage is distortion caused by nonuniform internal stresses. An improper gate location or gate size can cause warp. Gate size restricts how plastic flows through the part.
Sink marks: Sink marks are indents on the surface of a part. Sink marks occur because of changes in wall section and usually occur in thicker areas. Improper gate location can lead to sink marks.
You want your gate location to be situated where the gate vestige will not affect your overall part function. By consulting with a plastics engineer early in your design process, you can avoid having to troubleshoot these quality issues during production. Additionally, your injection molder should be able to use MoldFlow analysis to make sure the gate you’ve selected can produce the part you need.
You should inform your plastics engineer of acceptable areas to gate that will not interfere with part function.
Gating Impacts Your Part’s Appearance.
Gating will always leave gate vestige, or some visual indication that the part was gated there, even if it is subtle. In certain parts, vestige could interfere with labeling if gated on the outer face of the part. You might not want a mark on the outside of your product for aesthetic reasons.
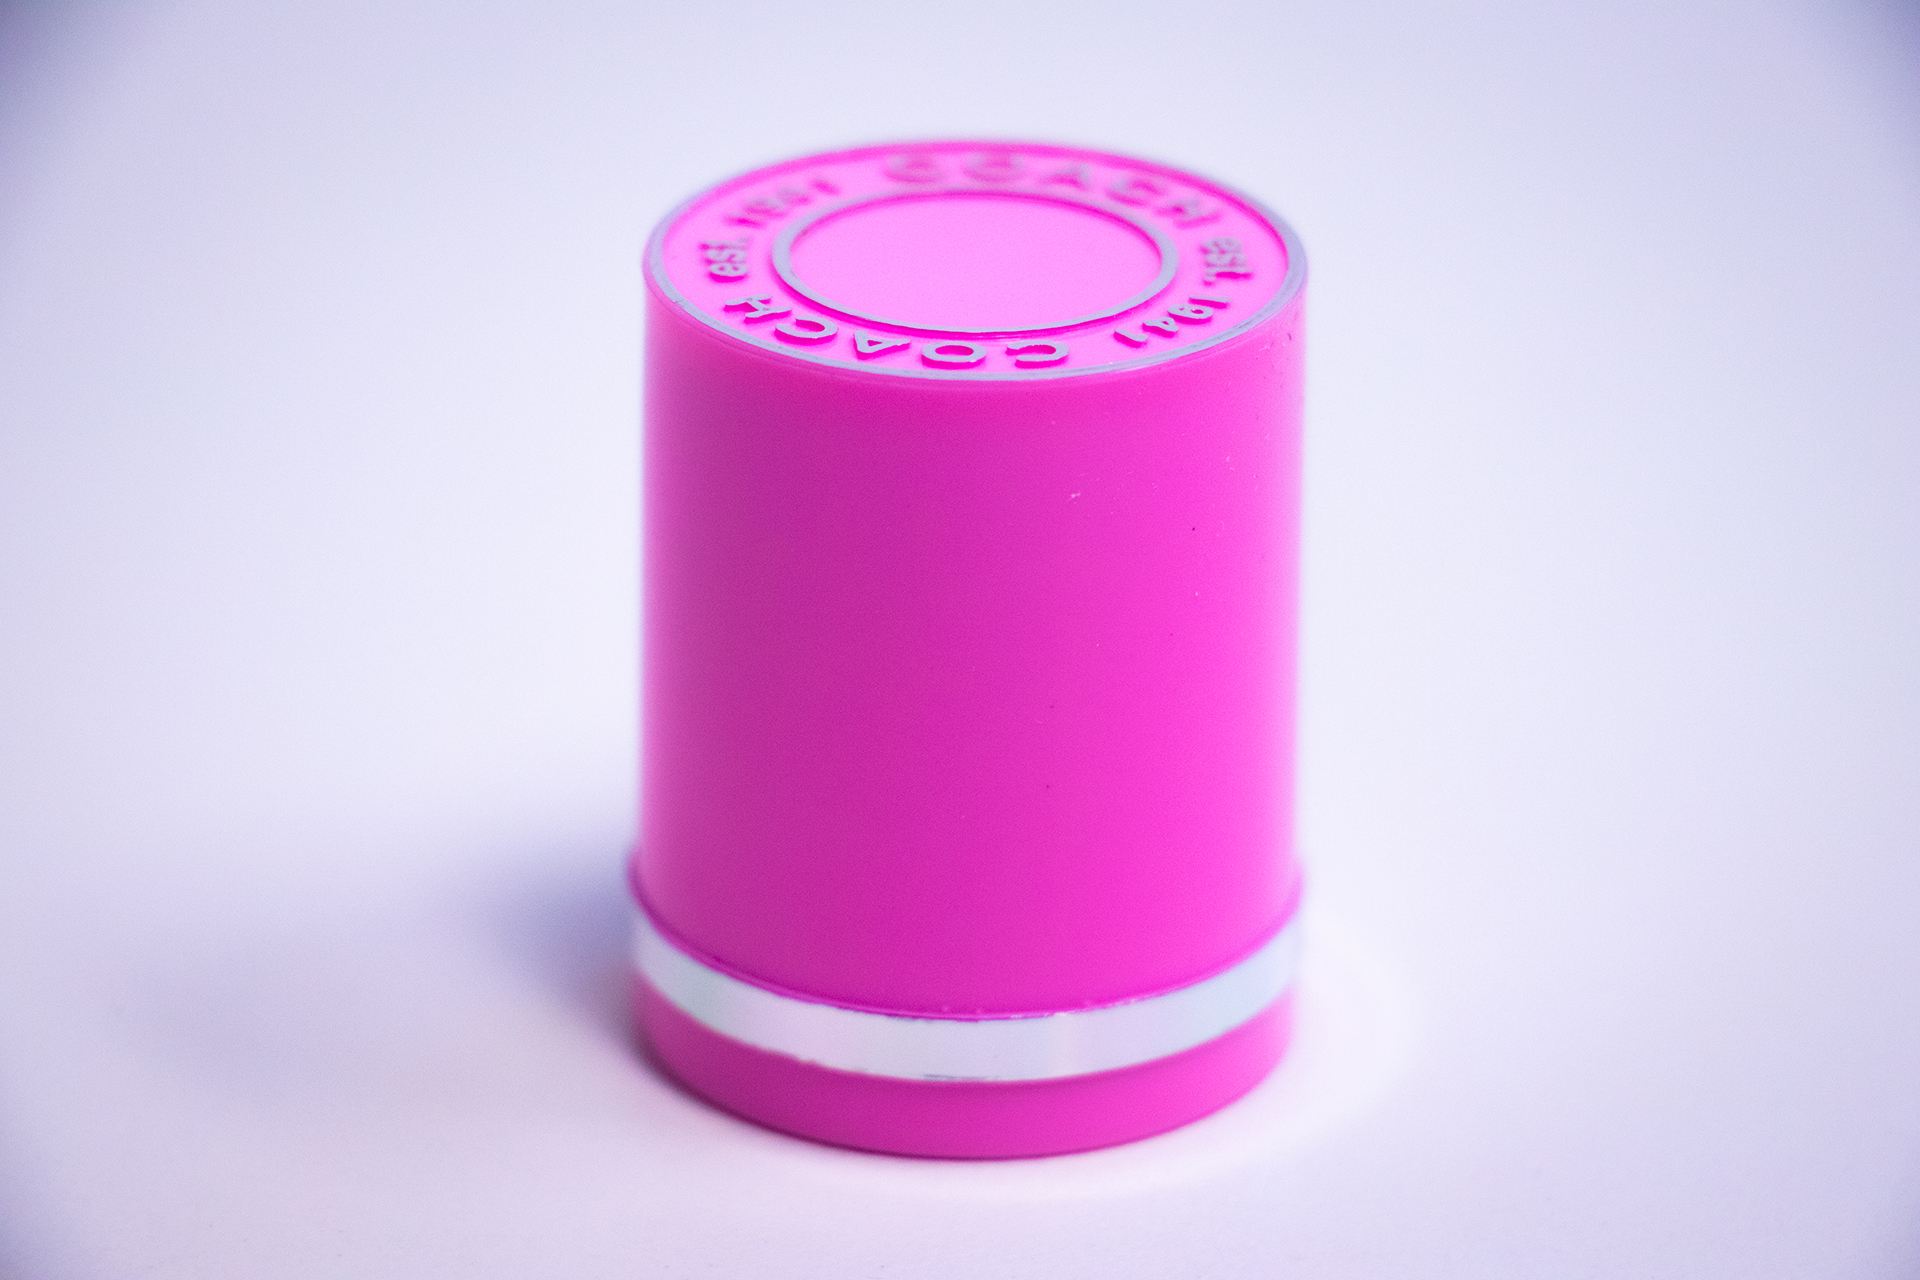
This plastic part does not have gate vestige on an outer face.
Once you have your part design, you can decide where to gate based on your aesthetic requirements.
Ask yourself, where can potential gate vestiges be? How large can they be? If your part has any aesthetic requirements, you should let your plastics engineer know during the DFM stage. Tell them what areas or faces are acceptable to gate on and how large the vestige can be.
Final Advice
Once you have worked through your options and made your gating decisions, record those in the next revision level of your part design to ensure flow of information:
- Include gating requirements in the design of your part: location, type, and size.
- Let your supplier know of aesthetic requirements and define where not to gate.
- Define areas to gate that will not interfere with part functionality.
- Communicate budgetary constraints and whether degating is a priority.